My nephew has 2 great loves in his life. OK, 3 if you count his girlfriend, but we are talking about food right now. Chocolate covered Cherries and Root Beer. I am fairly sure that he does not consume them both at the same time, then again, he IS 19, so it's quite possible that he does. Because of his love for chocolate covered cherries, it has become a tradition for me to make him a Black Forest Cake for his birthday. But this last October was a little bit different.
With the loss of my Grandmother, his Great-Grandmother, in October things just went all kinds of crazy 'round here and in with all the hubbub going on around his birthday... Well, his cake was sort of forgotten this last year. Poor kid. :(
Since that time, I have been attempting to compile all of Grandma's recipes (lord have mercy, but there are tons) into some semblance of a cook book. While going to the box of cake recipes (Yes, it was a box. A BIG box) I came across an interesting one for a Root Beer cake. I am familiar with Coca-Cola cake, but I had never heard of Root Beer cake. I don't think it was one of Grandma's regular offerings. Then again, she did A LOT of baking for A LOT of people.
I asked my nephew if he thought it sounded interesting, since he is such a root beer nut. He was ALL over the idea. That is, with the proviso that I use A&W Root Beer. LOL
So, even though it's 4 months late.... Happy Birthday Blaine!

1 cup (8 oz)(226g) Unsalted Butter (plus more for the pans)
2 1/2 cups (10 oz)(283g) Cake Flour (plus more for the pans)
2 1/2 tsp Baking Powder
1 tsp Salt
1 cup A&W Root Beer
3 tsp Root Beer Extract
1 1/2 cups (10.5 oz)(300g) Granulated Sugar
4 large Eggs
Preheat the oven to 350F degrees.
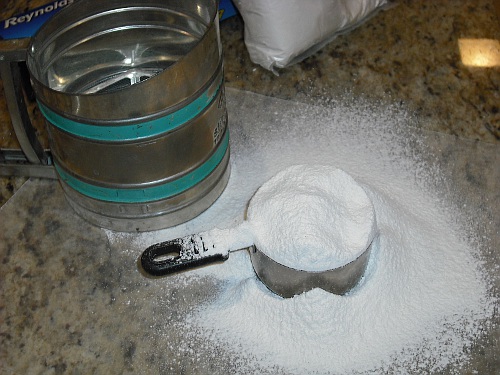
Butter and flour 2 8-inch round cake pans.
 Place Flour, Baking Powder and Salt in a medium bowl, whisking to combine.
 In a small pitcher, combine Root Beer and Root Beer extract.
 In the bowl of a stand mixer, beat butter and sugar until light and fluffy.
 Add Eggs one at a time, beating well after each addition before adding the next.
 Flour and Root Beer mixture, alternating, beginning and ending with the Flour.
 Beat 1 minute longer to ensure everything is homogeneous.
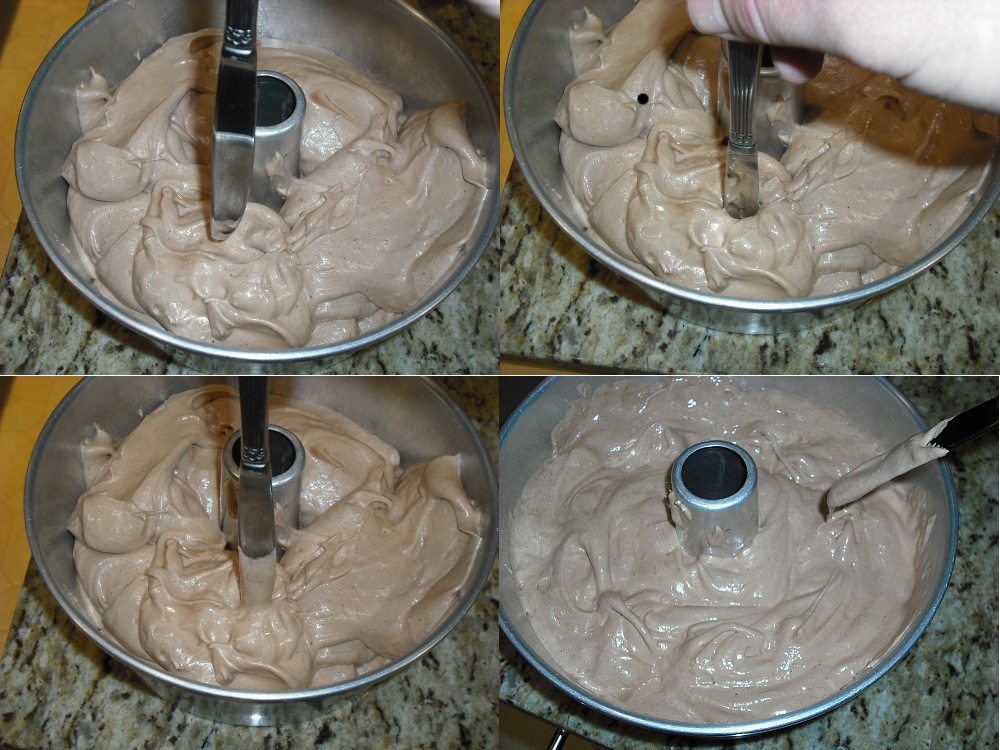
 Divide batter between the prepared pans and smooth the tops.
 Bake for 30 minutes, turning once, or until a toothpick inserted in the center comes out clean.
 Move to a cooling rack and allow to cool in the pan for 10 minutes.
 Turn the cakes out and allow to cool completely.
 While you are waiting for the cake to cool, go ahead and make.............
Root Beer Ermine Frosting:
3/4 cup Whole Milk
1/3 cup Root Beer
3 1/2 TB AP Flour
healthy pinch of Salt
1 cup Butter
1 cup Granulated Sugar
2 tsp Root Beer Extract
Combine Milk, Root Beer and Flour in a saucepan, whisking until the flour "dissolves".
 Place over medium flame and cook, whisking constantly, until it thickens enough for a line to show on the surface for 10 seconds before sinking into the mixture (I use a soap making term for this, called "Trace")
 Remove from the flame and pour into a bowl to stop the cooking.
 Cover on the surface with plastic wrap to prevent crusting.
 In the bowl of an electric mixer, beat Butter and Sugar until fluffy.
 Add Root Beer extract and beat until combined.
 Once the Flour/Milk mixture is still warm, but not hot (a little warmer than "lukewarm"), set the mixer on medium speed and begin adding the flour mixture to the Butter mixture, 1 TB at a time, beating well after each addition.
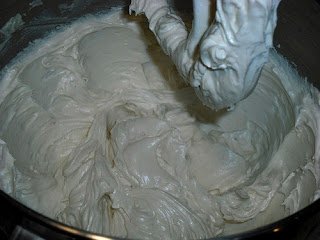
 Once you have added all of the Flour mixture to the Butter, beat for an additional 3-5 minutes.
 You should hear the tell tale "slapping" sound that Butter Creme frosting makes.
 Frost the cake, reserving about 1/2 cup for piping purposes and top with "Root Beer Barrel" Candy.
 Refrigerate the cake until ready to serve. (Ermine frosting needs to stay refrigerated cause it begins to melt above 70 degrees)
 It's REALLY not as sweet as you would think. Which surprised me, but so moist and dense, yet tender that it would not have mattered HOW sweet it was. It's just delicious.
Mangia!!
With the loss of my Grandmother, his Great-Grandmother, in October things just went all kinds of crazy 'round here and in with all the hubbub going on around his birthday... Well, his cake was sort of forgotten this last year. Poor kid. :(
Since that time, I have been attempting to compile all of Grandma's recipes (lord have mercy, but there are tons) into some semblance of a cook book. While going to the box of cake recipes (Yes, it was a box. A BIG box) I came across an interesting one for a Root Beer cake. I am familiar with Coca-Cola cake, but I had never heard of Root Beer cake. I don't think it was one of Grandma's regular offerings. Then again, she did A LOT of baking for A LOT of people.
I asked my nephew if he thought it sounded interesting, since he is such a root beer nut. He was ALL over the idea. That is, with the proviso that I use A&W Root Beer. LOL
So, even though it's 4 months late.... Happy Birthday Blaine!
Root Beer Cake

with Root Beer Ermine Frosting
1 cup (8 oz)(226g) Unsalted Butter (plus more for the pans)
2 1/2 cups (10 oz)(283g) Cake Flour (plus more for the pans)
2 1/2 tsp Baking Powder
1 tsp Salt
1 cup A&W Root Beer
3 tsp Root Beer Extract
1 1/2 cups (10.5 oz)(300g) Granulated Sugar
4 large Eggs
Preheat the oven to 350F degrees.
Butter and flour 2 8-inch round cake pans.


Root Beer Ermine Frosting:
3/4 cup Whole Milk
1/3 cup Root Beer
3 1/2 TB AP Flour
healthy pinch of Salt
1 cup Butter
1 cup Granulated Sugar
2 tsp Root Beer Extract
Combine Milk, Root Beer and Flour in a saucepan, whisking until the flour "dissolves".


Mangia!!